Think .NET MAUI is just Xamarin.Forms 2.0? Think again. Behind its polished cross-platform promise lies a reimagined architecture that simplifies, speeds up, and strengthens your app development game.
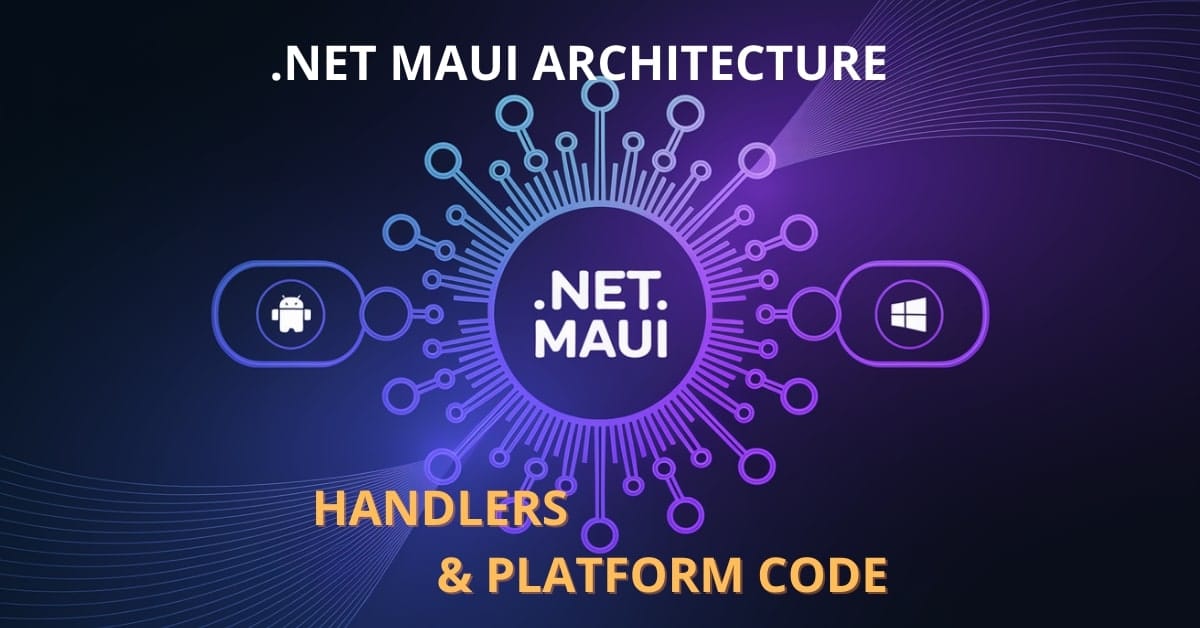
.NET MAUI (Multi-platform App UI) is the next-generation UI framework from Microsoft, enabling you to build apps for Android, iOS, macOS, and Windows with a single codebase. But to truly leverage its power, you need to understand its architecture. Let me take you under the hood.
Project Structure in .NET MAUI
Overview of the Single Project Model
Gone are the days of juggling multiple platform projects. With .NET MAUI, you get a unified Single Project structure. That means you define your UI, resources, and shared logic in one place. MAUI then takes care of deploying to each platform.
Structure Overview:
- Platforms/ – Contains platform-specific configuration and code (like MainActivity.cs for Android).
- Resources/ – Shared images, fonts, raw files, styles.
- App.xaml & MainPage.xaml – Your entry UI files.
- MauiProgram.cs – Where your app starts and DI is configured.
Benefits:
- Centralized resource management.
- Shared fonts, images, splash screens.
- Simplified deployment and debugging.
How Platform-Specific Code Works
Even in a unified project, sometimes you need per-platform behavior. .NET MAUI lets you do this cleanly.
You can use partial classes or conditional compilation symbols like #if ANDROID, #if IOS, etc.
Example: Platform-specific method call
public partial class DeviceService
{
    public partial string GetDeviceName();
}

// Android implementation
#if ANDROID
public partial class DeviceService
{
    public partial string GetDeviceName() => Android.OS.Build.Model;
}
#endif
Explanation: You define the method in a partial class, and then implement it per platform using conditional compilation.
Handlers vs. Renderers
What Are Handlers?
Handlers are the new way .NET MAUI connects your cross-platform UI to native controls. Unlike Xamarin.Forms renderers, which used a hierarchy of UI wrappers, Handlers are lightweight and performance-focused.
They map directly to native views:
Buttonmaps toUIButton(iOS),AppCompatButton(Android)Entrymaps toUITextField(iOS),EditText(Android)
Code Example: Modifying a handler
Microsoft.Maui.Handlers.ButtonHandler.Mapper.AppendToMapping("MyCustomization", (handler, view) =>
{
#if ANDROID
    handler.PlatformView.SetBackgroundColor(Android.Graphics.Color.HotPink);
#endif
});
Explanation: This customizes the native Android button inside MAUI by changing its background.
Why They Replace Renderers
Renderers in Xamarin.Forms were heavy, hard to customize, and prone to platform bugs. Handlers:
- Are simpler and more modular.
- Allow you to hook into control mapping via mappers.
- Enable better startup performance.
Creating Custom Handlers
Want your own control? Easy. Here’s how to create a custom handler:
Step 1: Define the control
public class FancyLabel : Label
{
    public string EffectStyle { get; set; }
}
Step 2: Create the handler
public partial class FancyLabelHandler : LabelHandler
{
    public FancyLabelHandler() : base(Mapper) {}

    public static PropertyMapper<FancyLabel, FancyLabelHandler> Mapper = new(LabelHandler.Mapper)
    {
        [nameof(FancyLabel.EffectStyle)] = MapEffectStyle
    };

    public static void MapEffectStyle(FancyLabelHandler handler, FancyLabel label)
    {
#if ANDROID
        handler.PlatformView.SetShadowLayer(5, 2, 2, Android.Graphics.Color.Gray);
#endif
    }
}
Step 3: Register the handler in MauiProgram.cs
builder.ConfigureMauiHandlers(handlers =>
{
    handlers.AddHandler(typeof(FancyLabel), typeof(FancyLabelHandler));
});
Explanation: You’ve created a new control that can be reused across platforms but customized deeply.
Platform-Specific Code and Customization
Sometimes, native access is a must. MAUI makes this straightforward.
Writing Platform-Dependent Code
Use #if directives or the platform folders inside the Platforms/ directory to write device-specific logic.
Example: Vibrate on Android only
public void Vibrate()
{
#if ANDROID
    var vibrator = (Vibrator)Android.App.Application.Context.GetSystemService(Context.VibratorService);
    vibrator.Vibrate(VibrationEffect.CreateOneShot(500, VibrationEffect.DefaultAmplitude));
#endif
}
Using Conditional Compilation
Conditional compilation is the easiest way to inject platform behavior.
#if ANDROID#if IOS#if WINDOWS
Use it sparingly to keep your codebase clean.
FAQ: Common Questions About .NET MAUI Architecture
It consolidates all platform-specific projects into one, streamlining development and maintenance.
Absolutely. XAML works just like in Xamarin.Forms with some nice performance boosts.
Handlers offer a modular, efficient mapping from cross-platform UI elements to native controls, improving performance and flexibility.
Yes, through conditional compilation and dependency injection, you can integrate code tailored to each platform.
Extend the appropriate handler base class (e.g., ViewHandler<TVirtualView, TPlatformView>) and override methods to map your control to its native counterpart.
Use device-specific emulators and set breakpoints inside the Platforms/ folder.
Conclusion: Why Understanding .NET MAUI Architecture Matters
If you thought MAUI was just Xamarin with a fresh coat of paint, I hope this post changed your mind. From its single project structure to blazing-fast Handlers, it’s a whole new way of thinking about cross-platform development.
Mastering MAUI architecture means faster builds, more flexibility, and happier users across platforms. So what’s next?
- Challenge yourself to build a custom handler this week.
- Refactor your existing Xamarin.Forms project to use the new Single Project model.
- Explore platform folders and conditional logic to unlock native capabilities.
Whether you’re starting fresh or migrating, understanding MAUI architecture is your secret weapon to building future-ready apps.
Have a tip or challenge about .NET MAUI Architecture? Share it in the comments below — let’s grow better together!